| Panel | ||||||||||
|---|---|---|---|---|---|---|---|---|---|---|
| ||||||||||
This is the documentation of JSU for Jira Cloud. If you are using JSU on Jira Server/Data Center, you can find the documentation here. |
...
![]() Maintain consistency across projects and get a clear view of your team's tasks
Maintain consistency across projects and get a clear view of your team's tasks
Do you want to make your parent issue close when all the issues in it are closed?
JSU Automation suite for Jira workflows can help you automate it.
Check how to set up the JSU post-function 'Linked transition'.
Check out the "How to" video further below to configure your automation.
How to configure this workflow
Go to your project settings and click to edit your workflow. Choose the transition you want to add your post function in. In this case we will choose the ‘Done’ transition number 31. Change to the post functions tab and add a post function. Choose the ‘Linked transition’ post function from the menu and add it.
Now configure your post function. You want your epic to turn to done when all tasks are done, so choose your transition to be triggered on Epic. Choose the transition you want the epic to perform when the issues are done. Here we want the epic to turn to Done too. Make sure you choose the Done transition with the corresponding number – here it’s 31. You don’t need to add a resolution to the done transition. In case you want one, you have to make sure that the resolution field is visible on the transition screen.
Since we only want to close the Epic when the last task is closed, we need to configure the status of the sibling issues. In this case we choose the status “Done” so that the linked transition will be executed only if all tasks in the Epic are done. Click add to move on with your JSU automation and publish your workflow.
Now go to your Epic and turn all the tasks to “done”. Your epic status is now “done” too! You can configure the same automation process for any parent and sub-tasks you need.
...
Watch this video to see all of this in action*:
| Widget Connector | ||||||
|---|---|---|---|---|---|---|
|
This was only a bit of JSU in action. Subscribe to our YouTube channel and Access more JSU use cases.
See also the app documentation for some more examples and configuration screenshots.
...
| Info |
|---|
NOTE: This guide starts from the "Edit Workflow" screen of a chosen project. If you're not sure how to get to this page, follow the onboarding steps first on either: /wiki/spaces/JSUCLOUD/pages/27801900 or /wiki/spaces/JSUCLOUD/pages/1147633753 |
 Keep your backlog clean by ensuring parent issues are automatically closed when all of its sub-tasks are completed
↓ Follow the visual step-by-step guide below to see how to configure this automation in your Jira instance. ↓
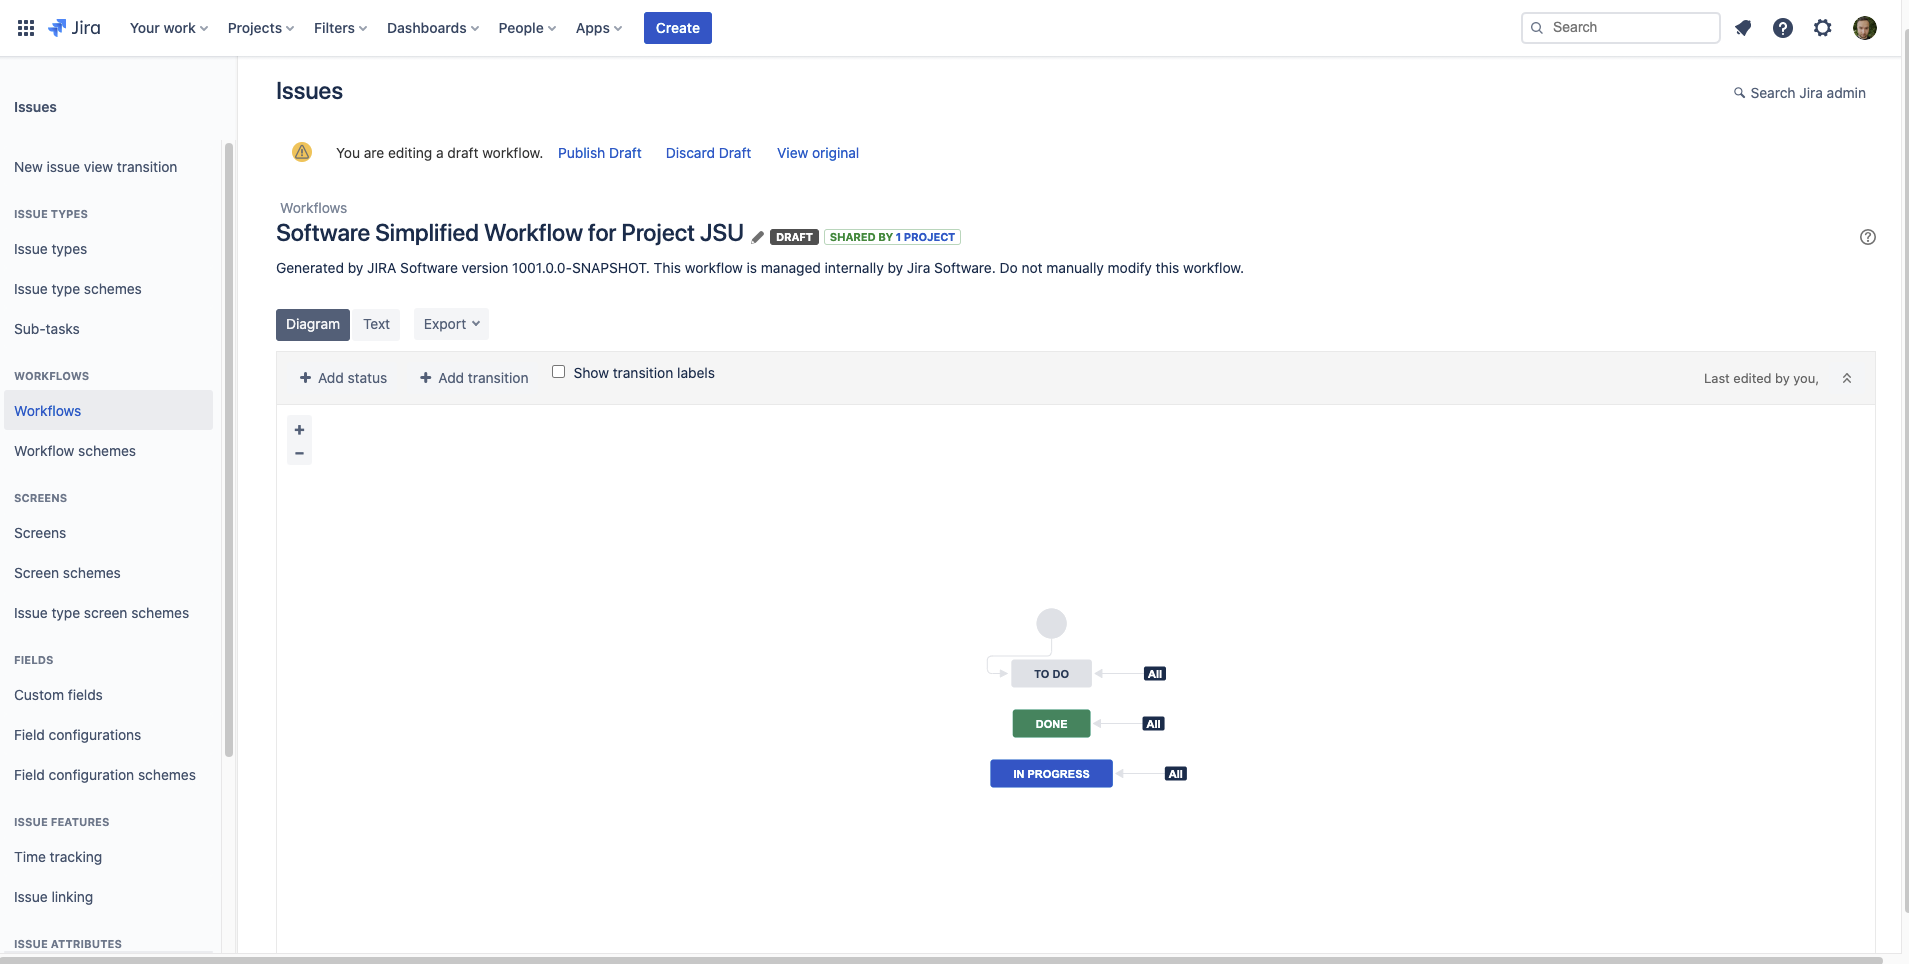
- If you haven't already, switch the workflow viewer into "Diagram View" and ensure you are in "Edit Mode". You can enter Edit Mode by selecting the "Edit" option towards the right of your workflow viewer.
- As we want to close parent issues when its' sub-tasks are done, we need to add the rule specifically to when issues transition to the
status. Click on the arrow that points inwards to this status to show the transition rule menu.Status colour Green title DONE
As we want to add a Post-Function to this transition, which runs an automation after the issue has been transitioned to the target status. Select "Post Functions" from the list which opens a new tab.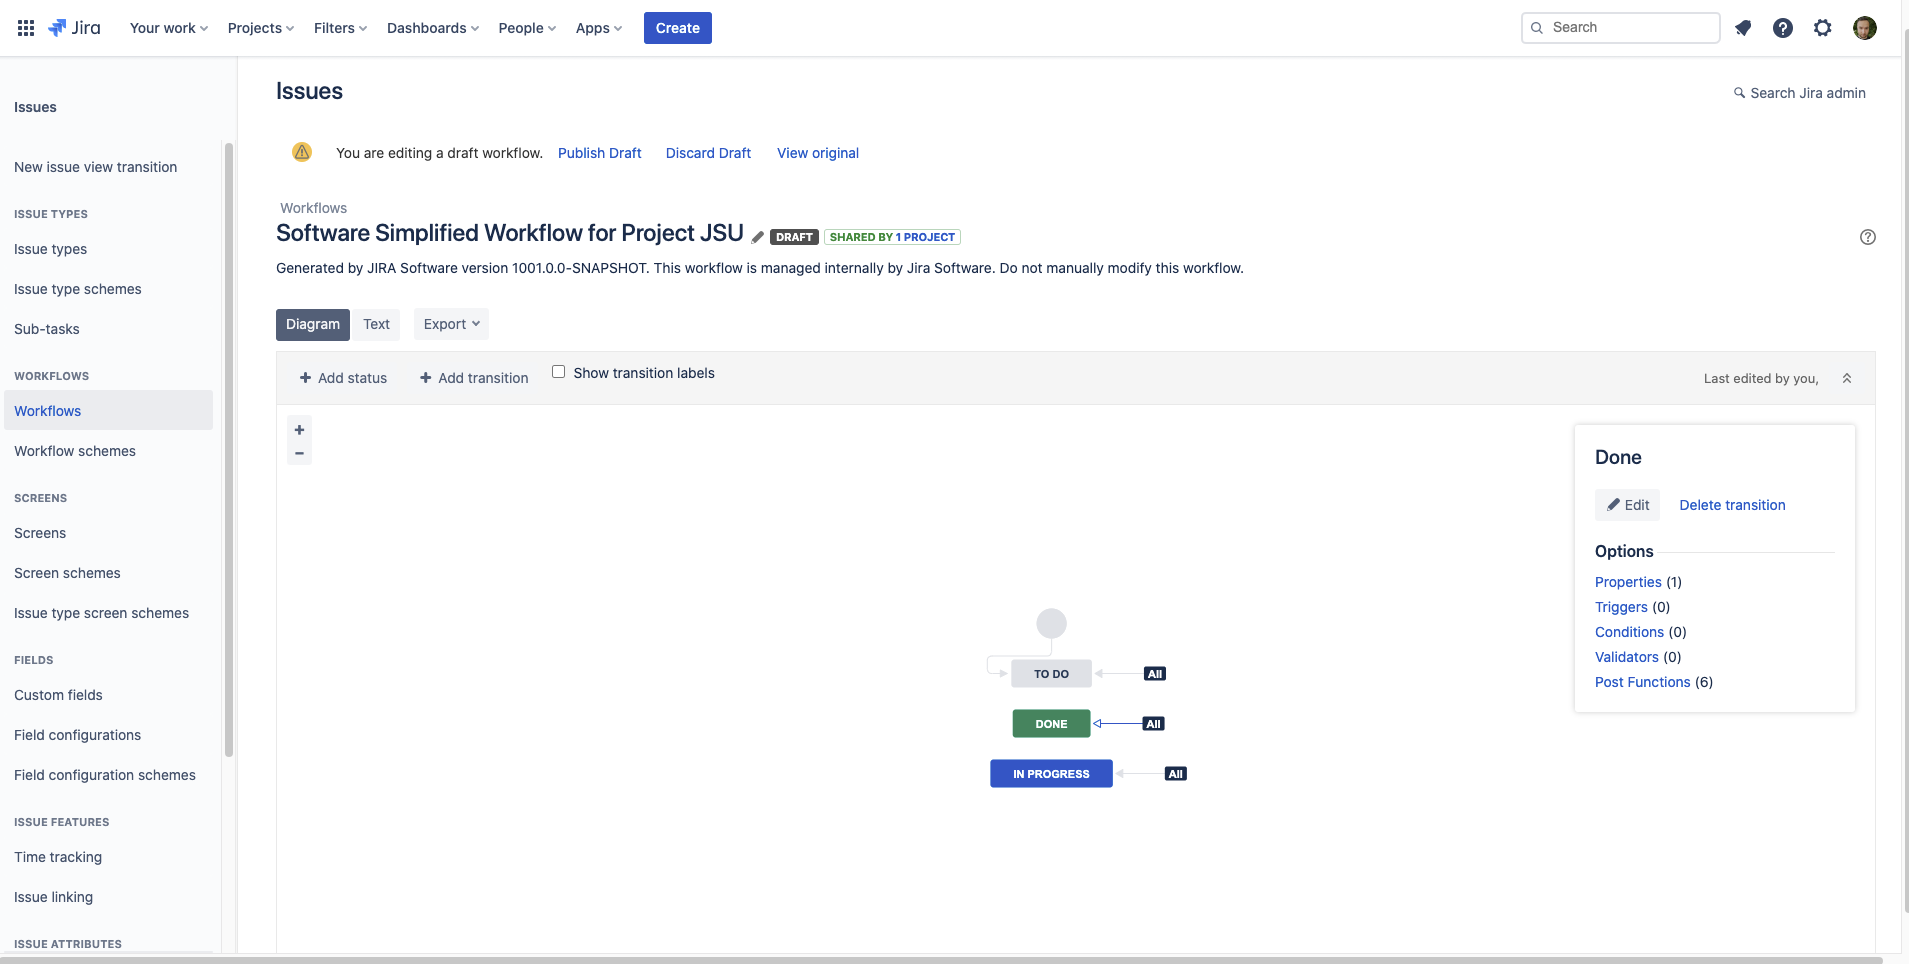
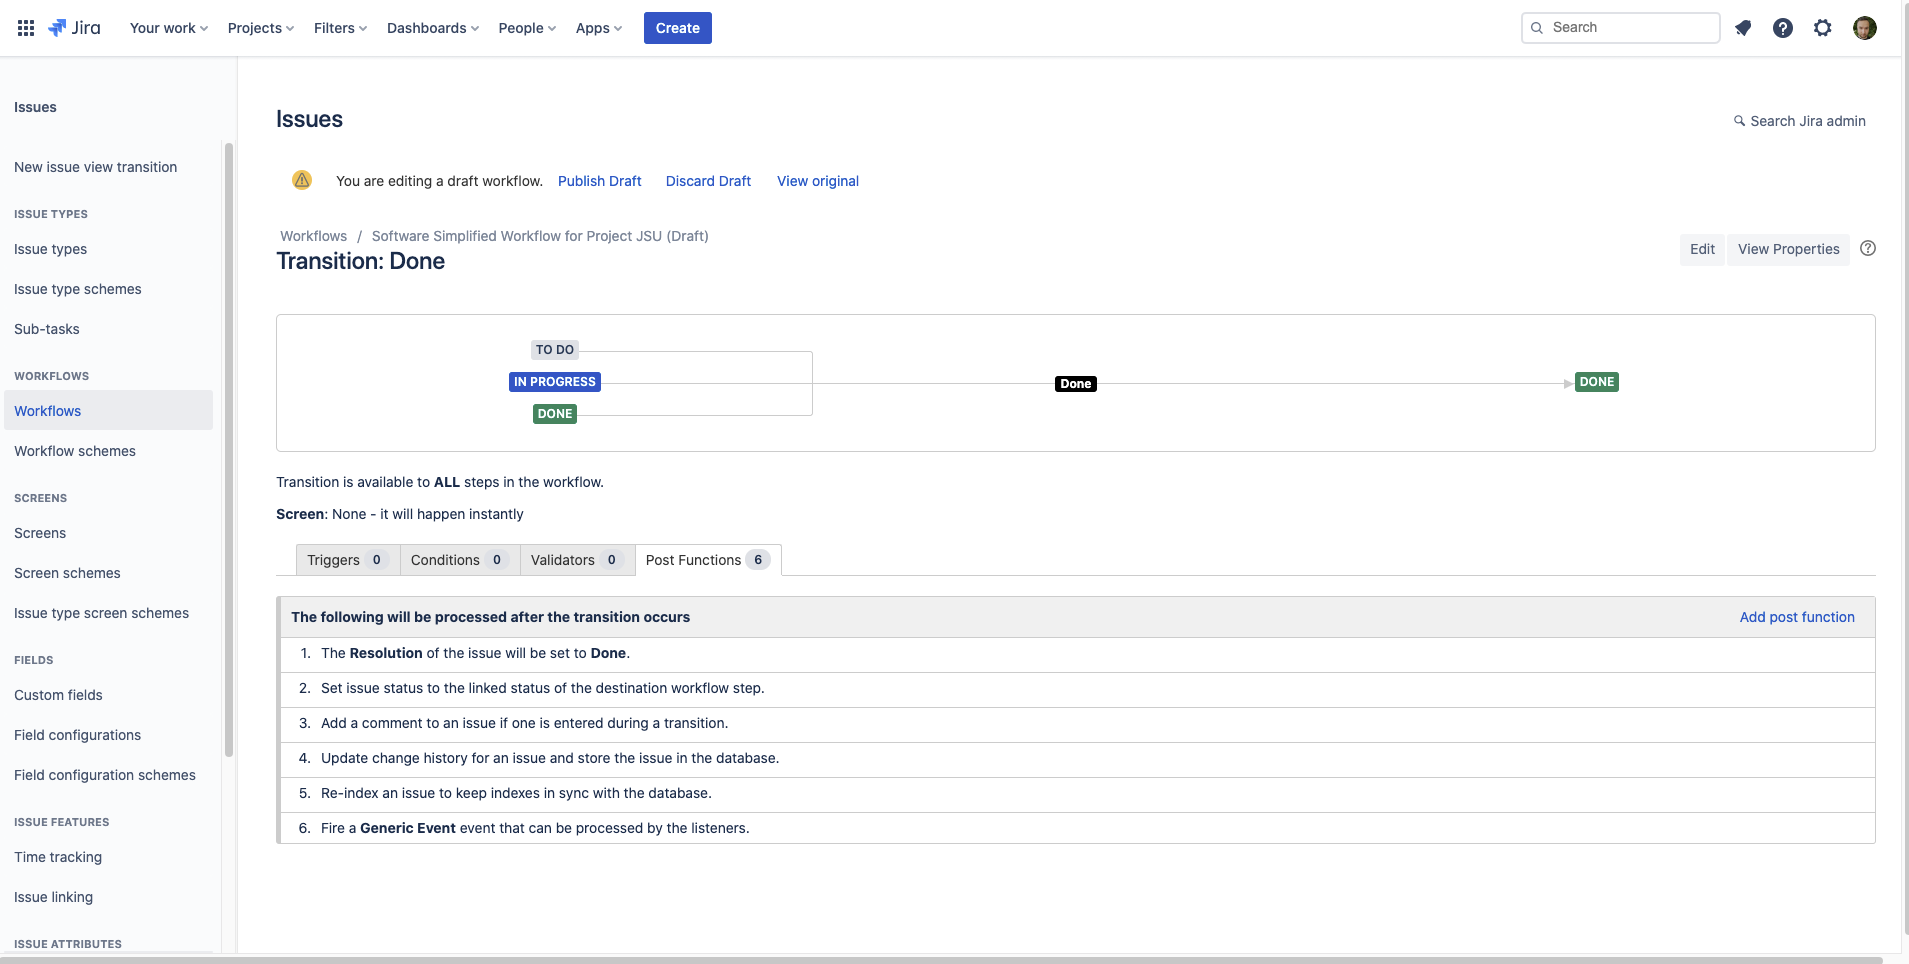
- In the Post Functions table - click "Add post function" to view all available post-functions.
- Choose "Linked Transition (JSU)" and then click "Add" at the bottom of the screen.
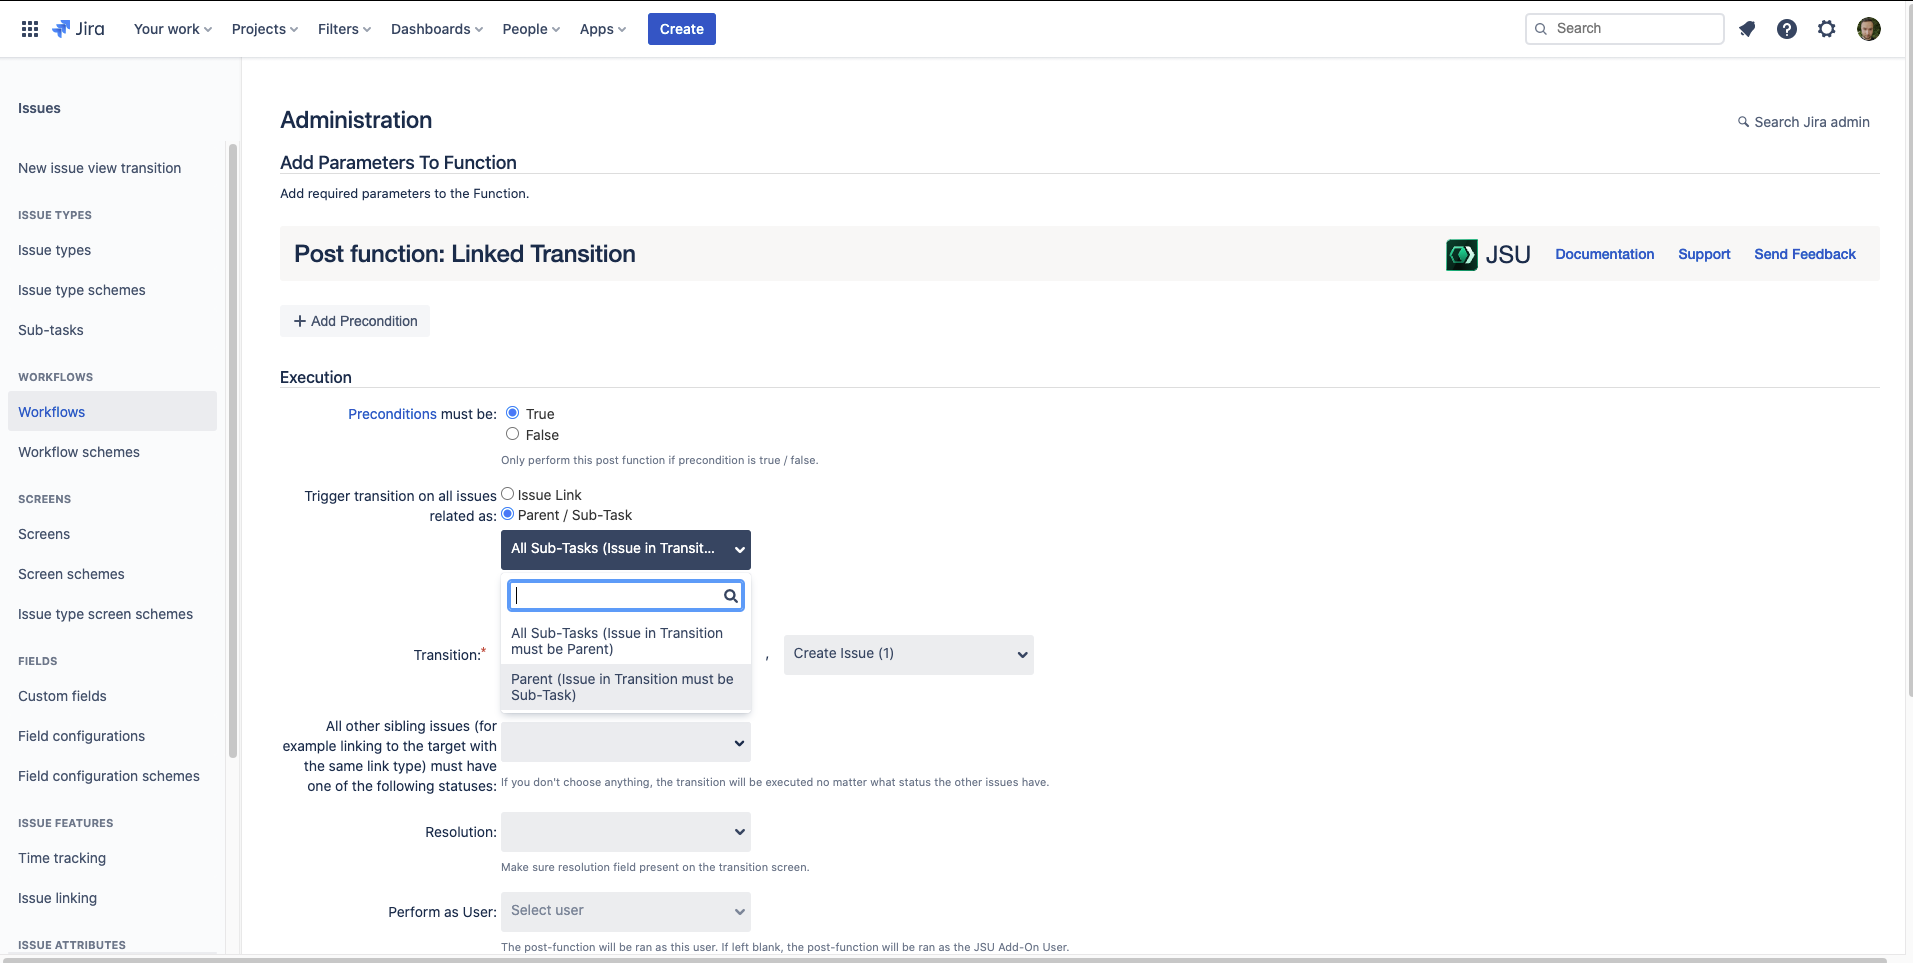
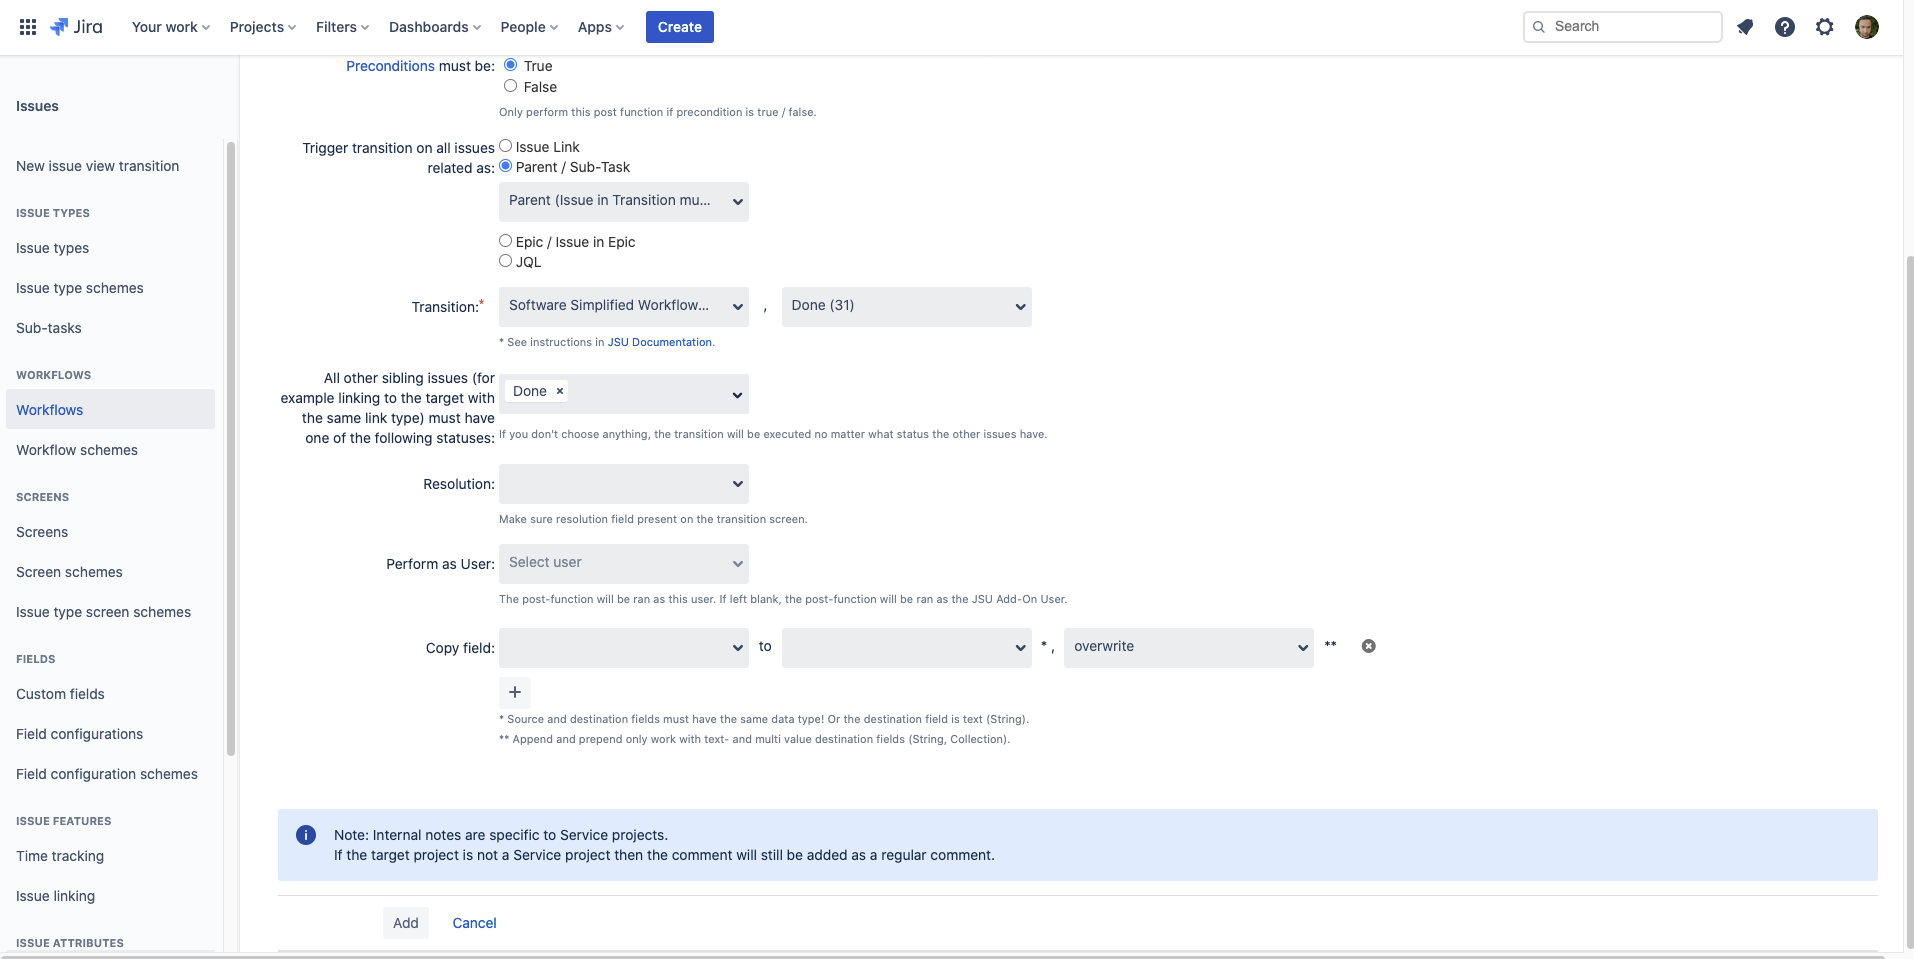
- As we want the parent to be automatically closed when the last sub-task is Closed - let's set "Trigger transition on all issues related as" to "Parent / Sub-Task > Parent (Issue in Transition must be Sub-Task)".
- Now, we have to tell JSU which transition and in which workflow do we want to transition the Parent issue we just selected. As we want to keep this rule simple, we only want this rule to apply to issues in our "JSU" project. So for "Transition" we select the workflow that applies to our JSU project and the "Done" transition. This means any parent issues will be transitioned to
as part of the rule we're configuring.Status colour Green title DONE 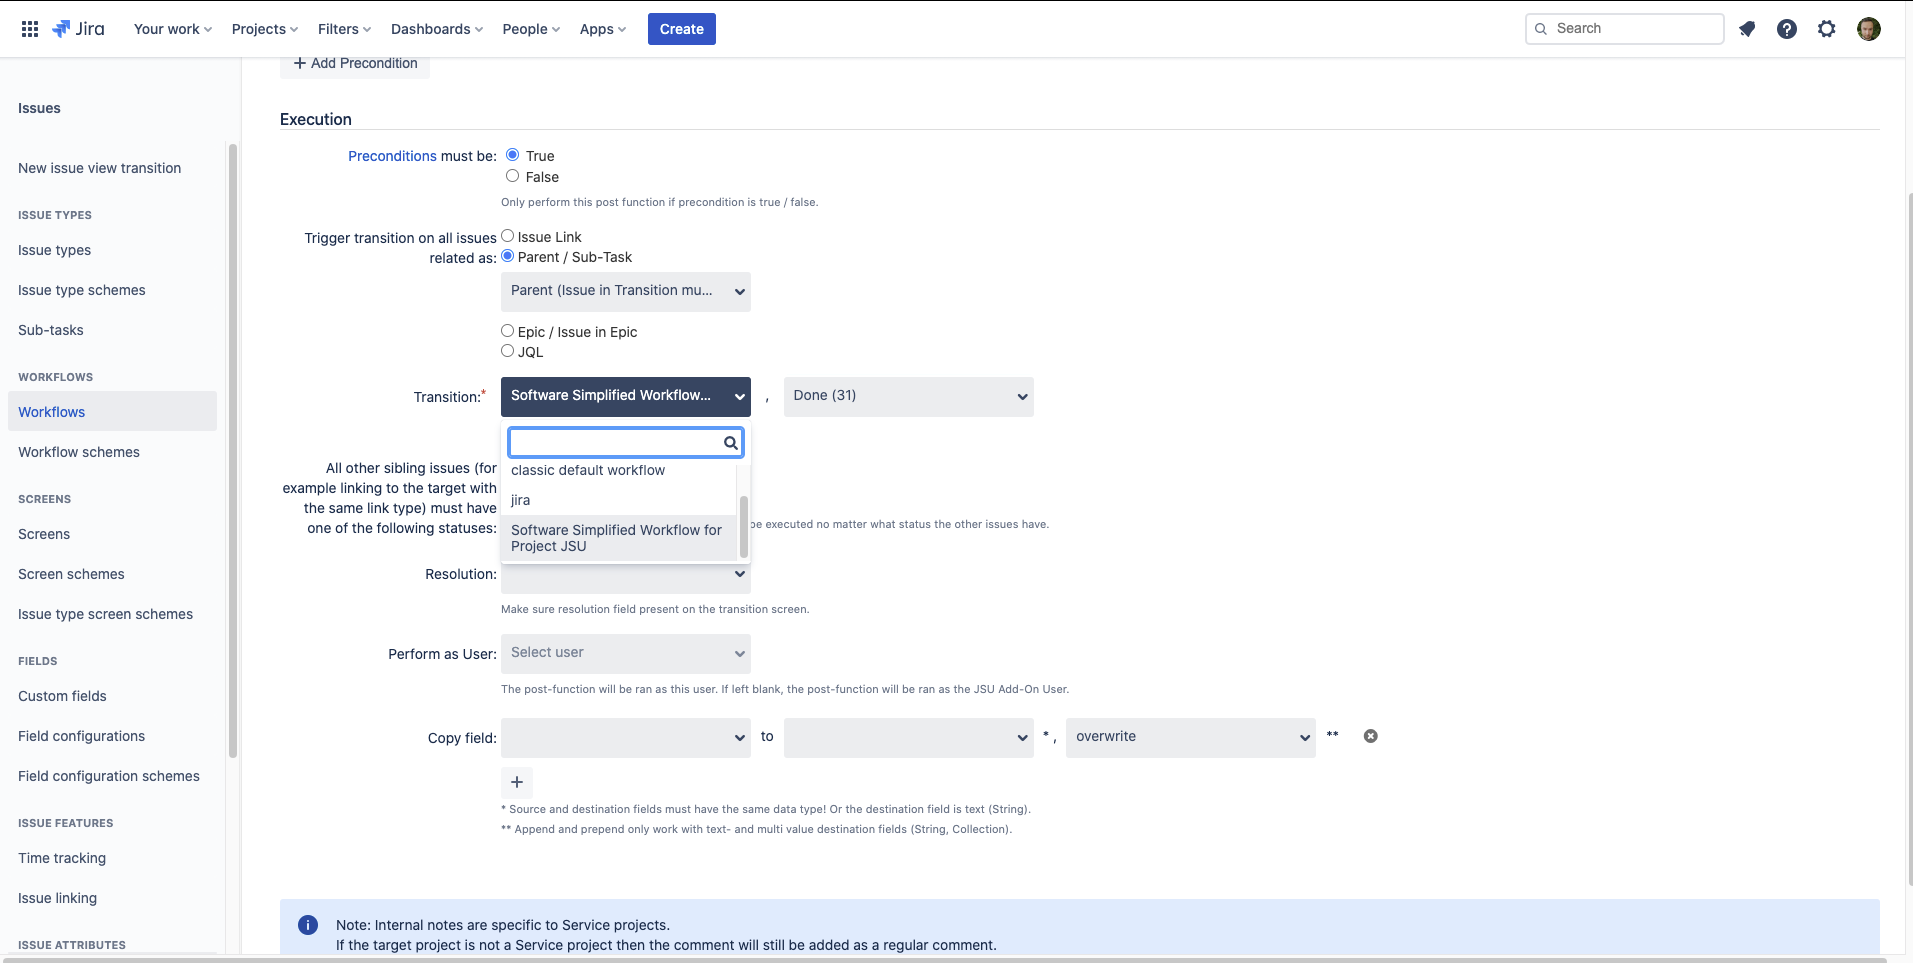
- But remember, we only want the parent to be transitioned to
if ALL of it's sub-tasks are alsoStatus colour Green title DONE
. To configure this, for "All other sibling issues (for example linking to the target with the same link type) must have one of the following statuses" we're going to set this as "Done".Status colour Green title DONE 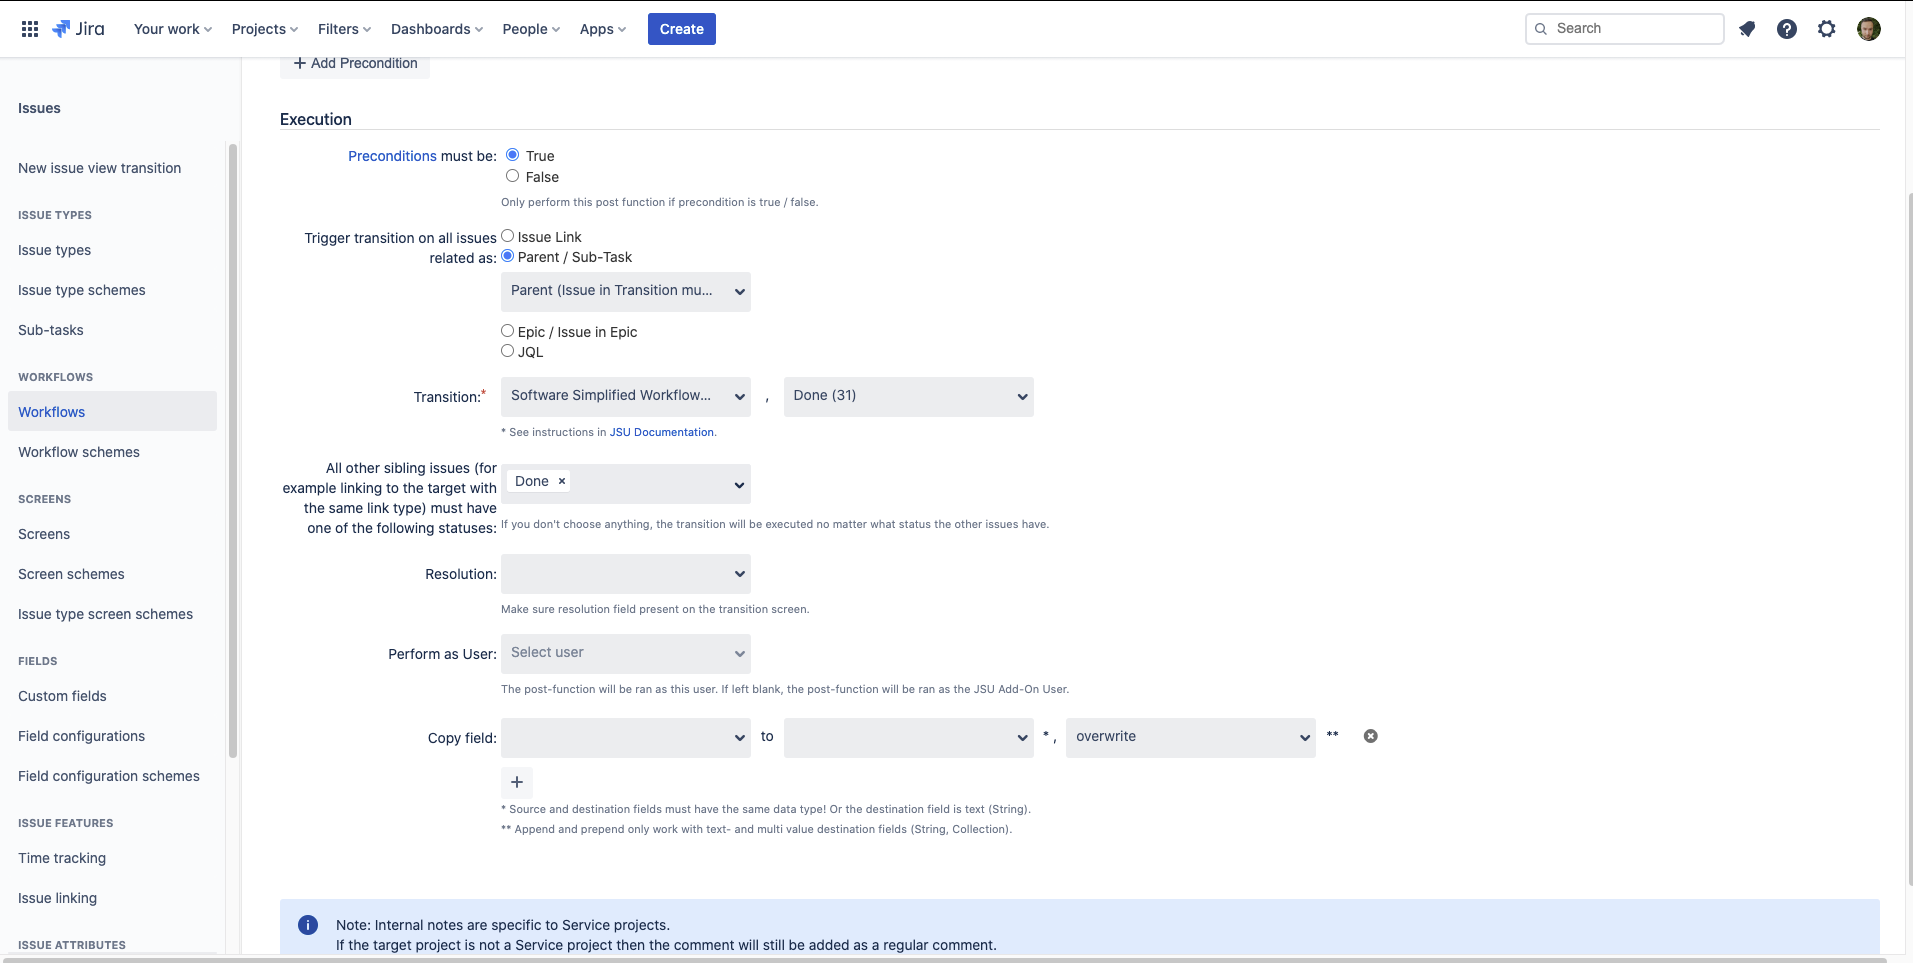
- The remaining fields are optional. For your reference though we can talk about how you might want to use the remaining fields. If you're happy as is, feel free to proceed to Step #9.
- Resolution - If you would like to add a Resolution to the parent issue after the post-function closes it, you can define which Resolution to choose in this field.
- Perform as user - In Jira Cloud, all "actions" both manual and automated, must be performed by a registered Atlassian account. If you'd like JSU to impersonate another user to run its automation, you can choose that user here. It's important to note that the impersonated user must have the right account privileges to perform the action. If you're not sure, just leave this field blank. Leaving the field blank means the automation will be ran as the "JSU add-on user" which has elevated privileges and can perform most functions.
- Copy field - If you'd like to add more information to the parent issue as part of the automation, you can describe what information you'd like to add here.
- Now you're ready to save your new Post-Function. To do this, click "Add" at the bottom of the page.
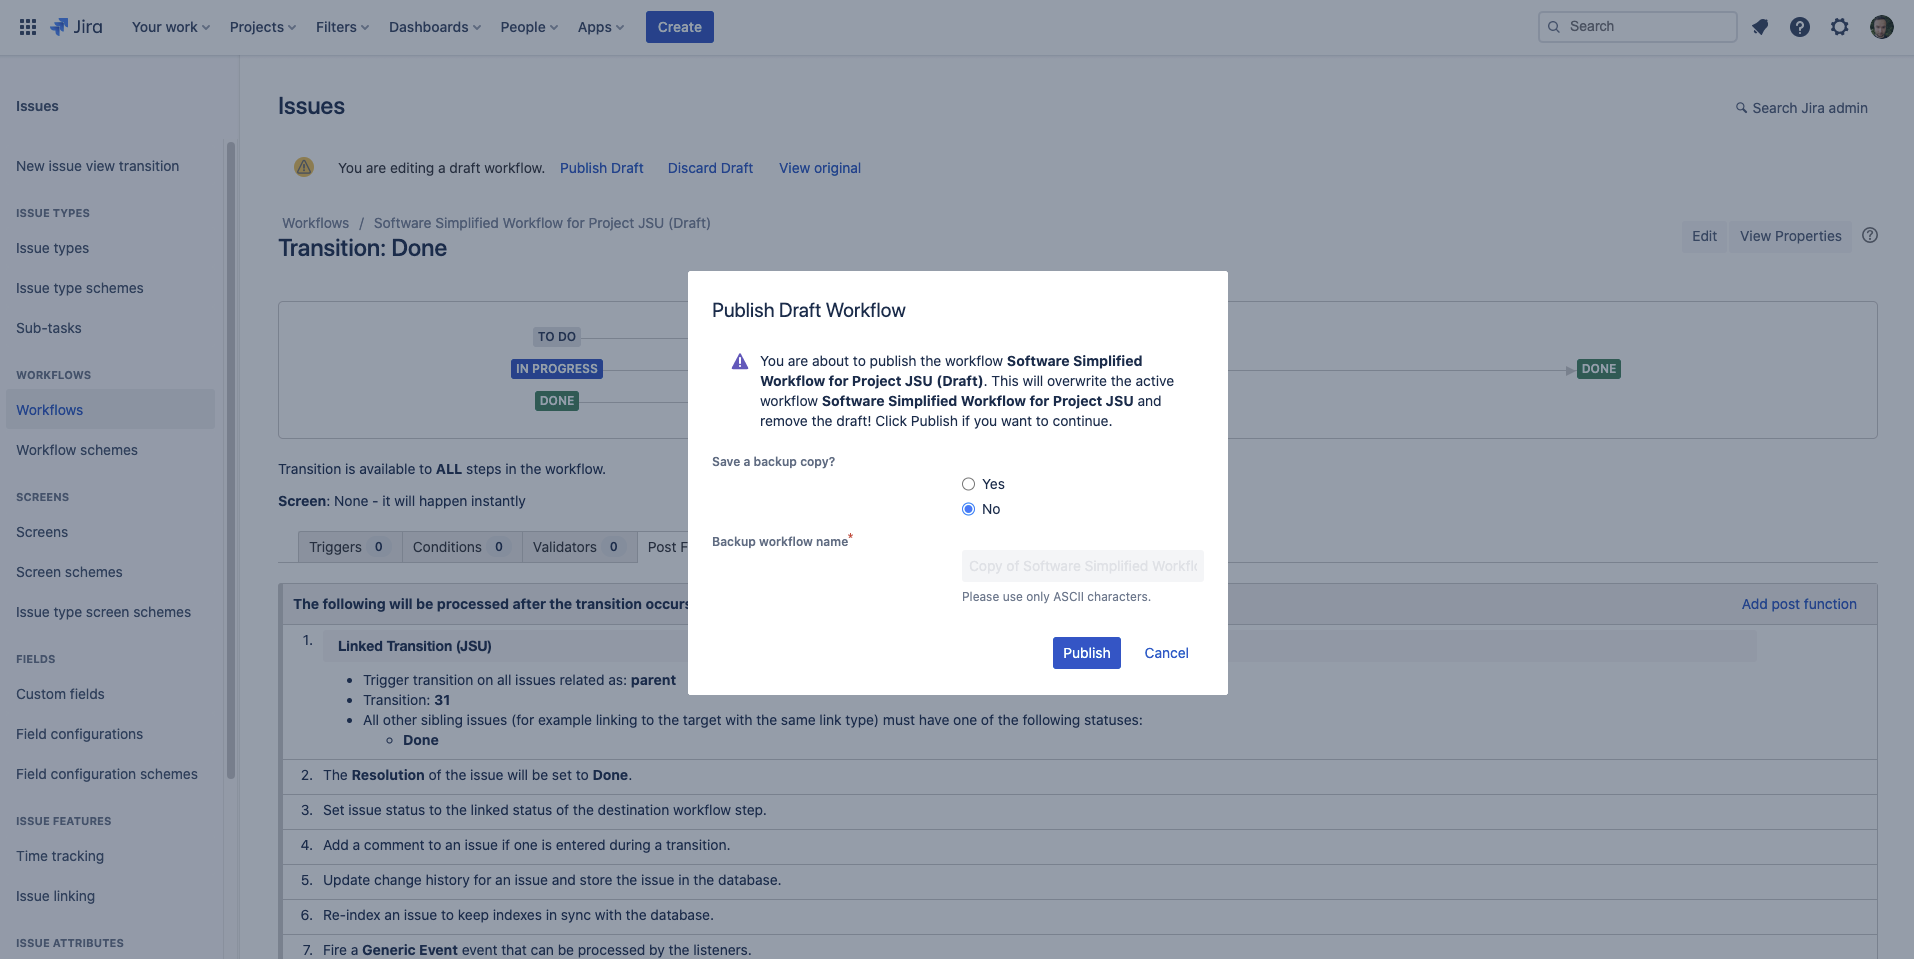
- You can now see a preview summary of all your Post-Functions applied to this transition. To confirm this new workflow and test it out, you need to publish it. At the top of the screen click "Publish Draft" and then either "Yes" or "No" if you'd like to save a backup of the workflow before our changes are applied, followed by "Publish" again.
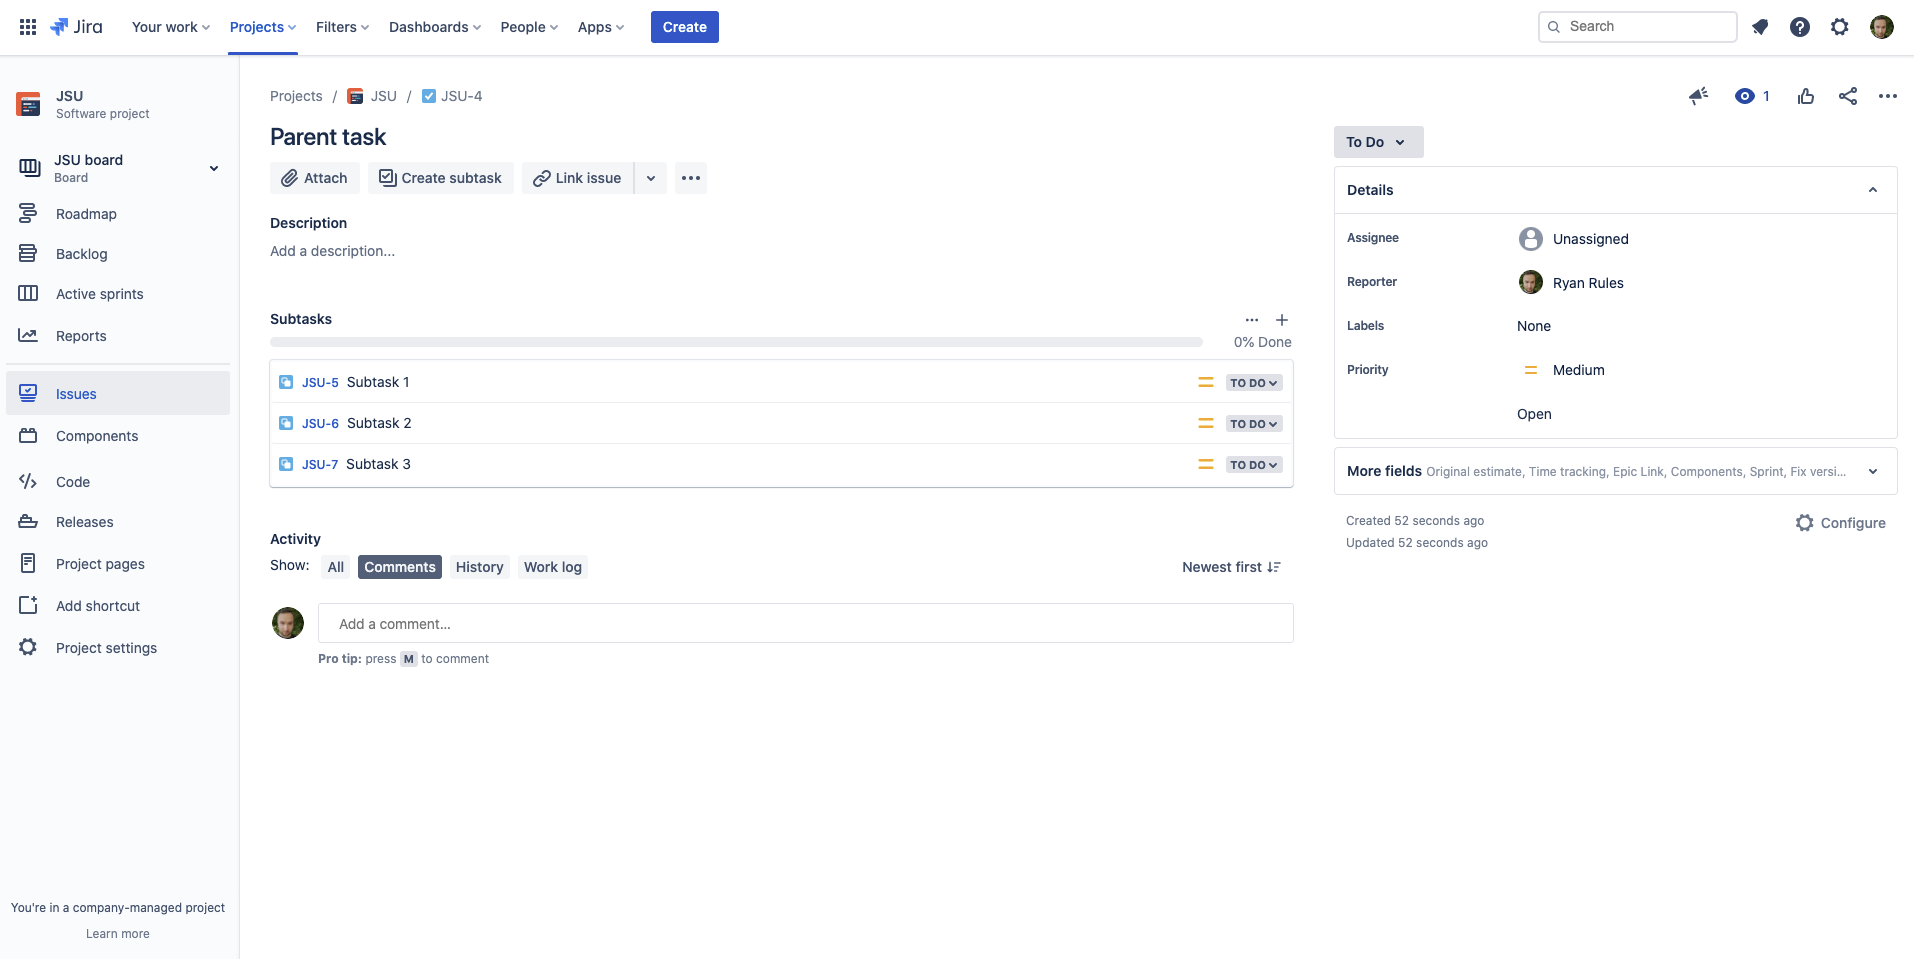
- Now we can go test the post-function in action! Head to an open issue that has one or more open sub-tasks within it.
- Now proceed to transition all of the subtasks to
.Status colour Green title done 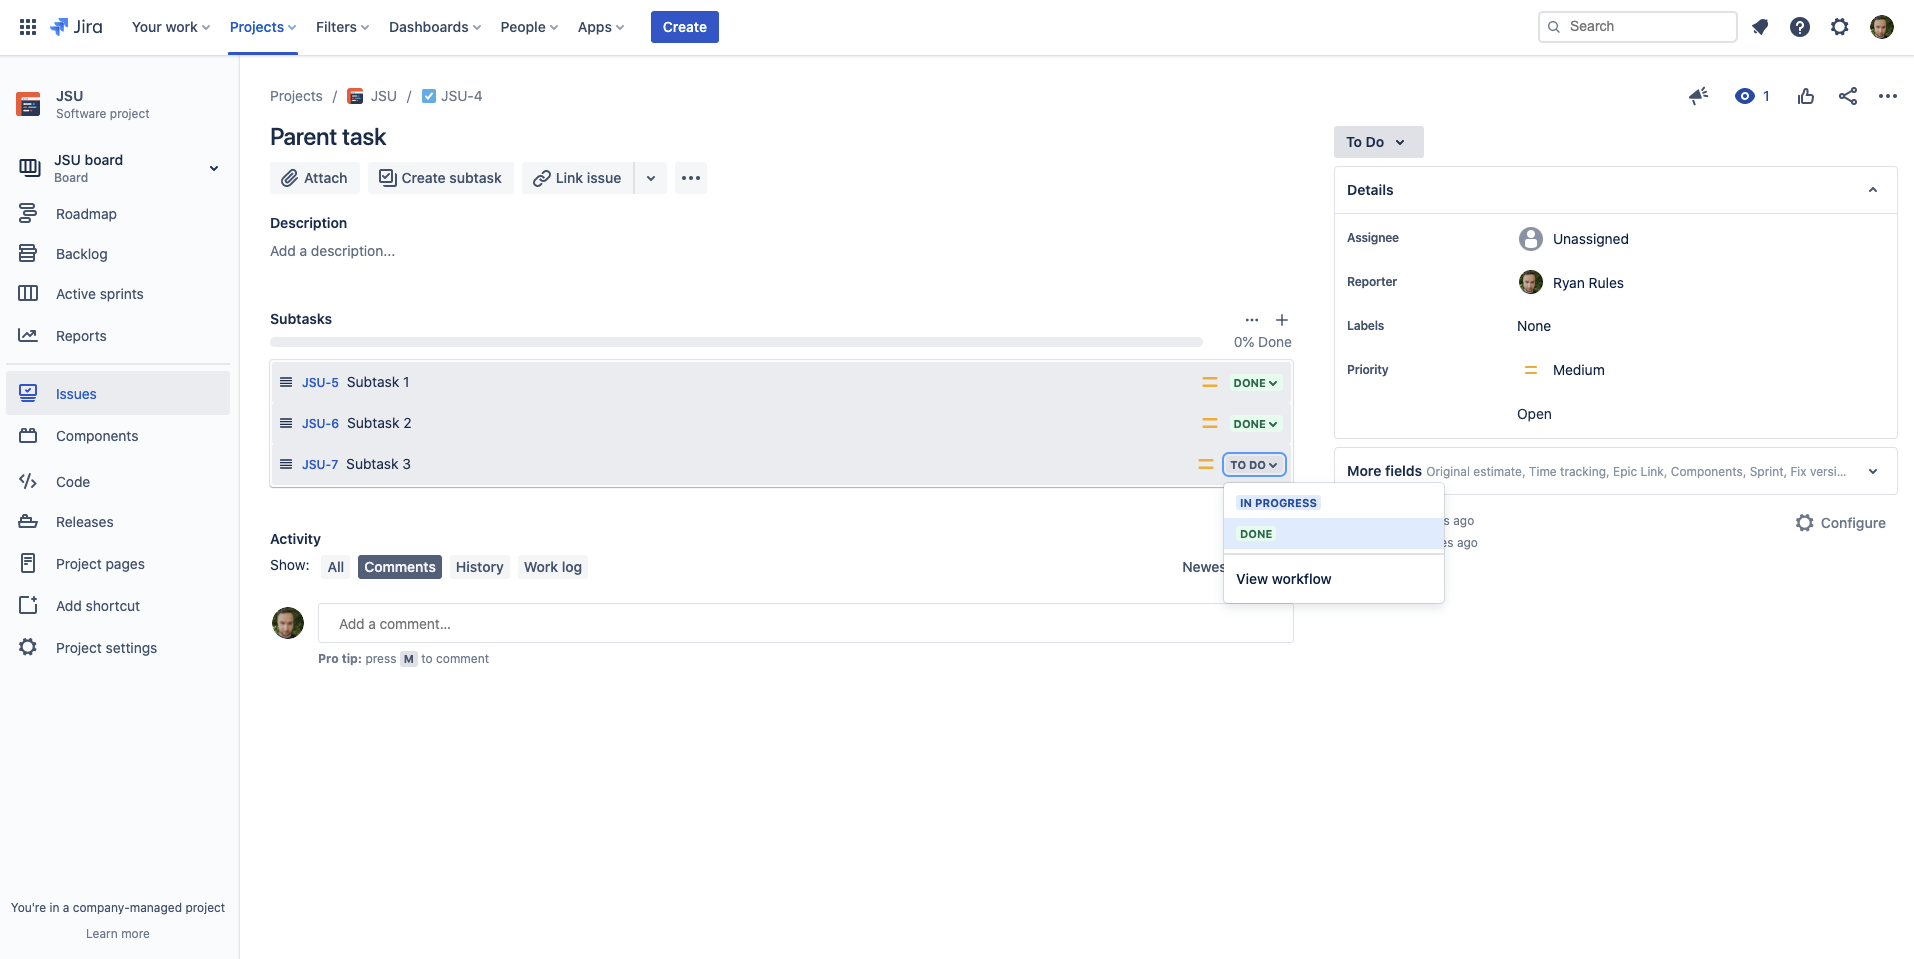
- Now refresh/reload the parent issue. You'll notice that it has now also been transitioned to
- which means our Post-Function has worked as expected!Status colour Green title done 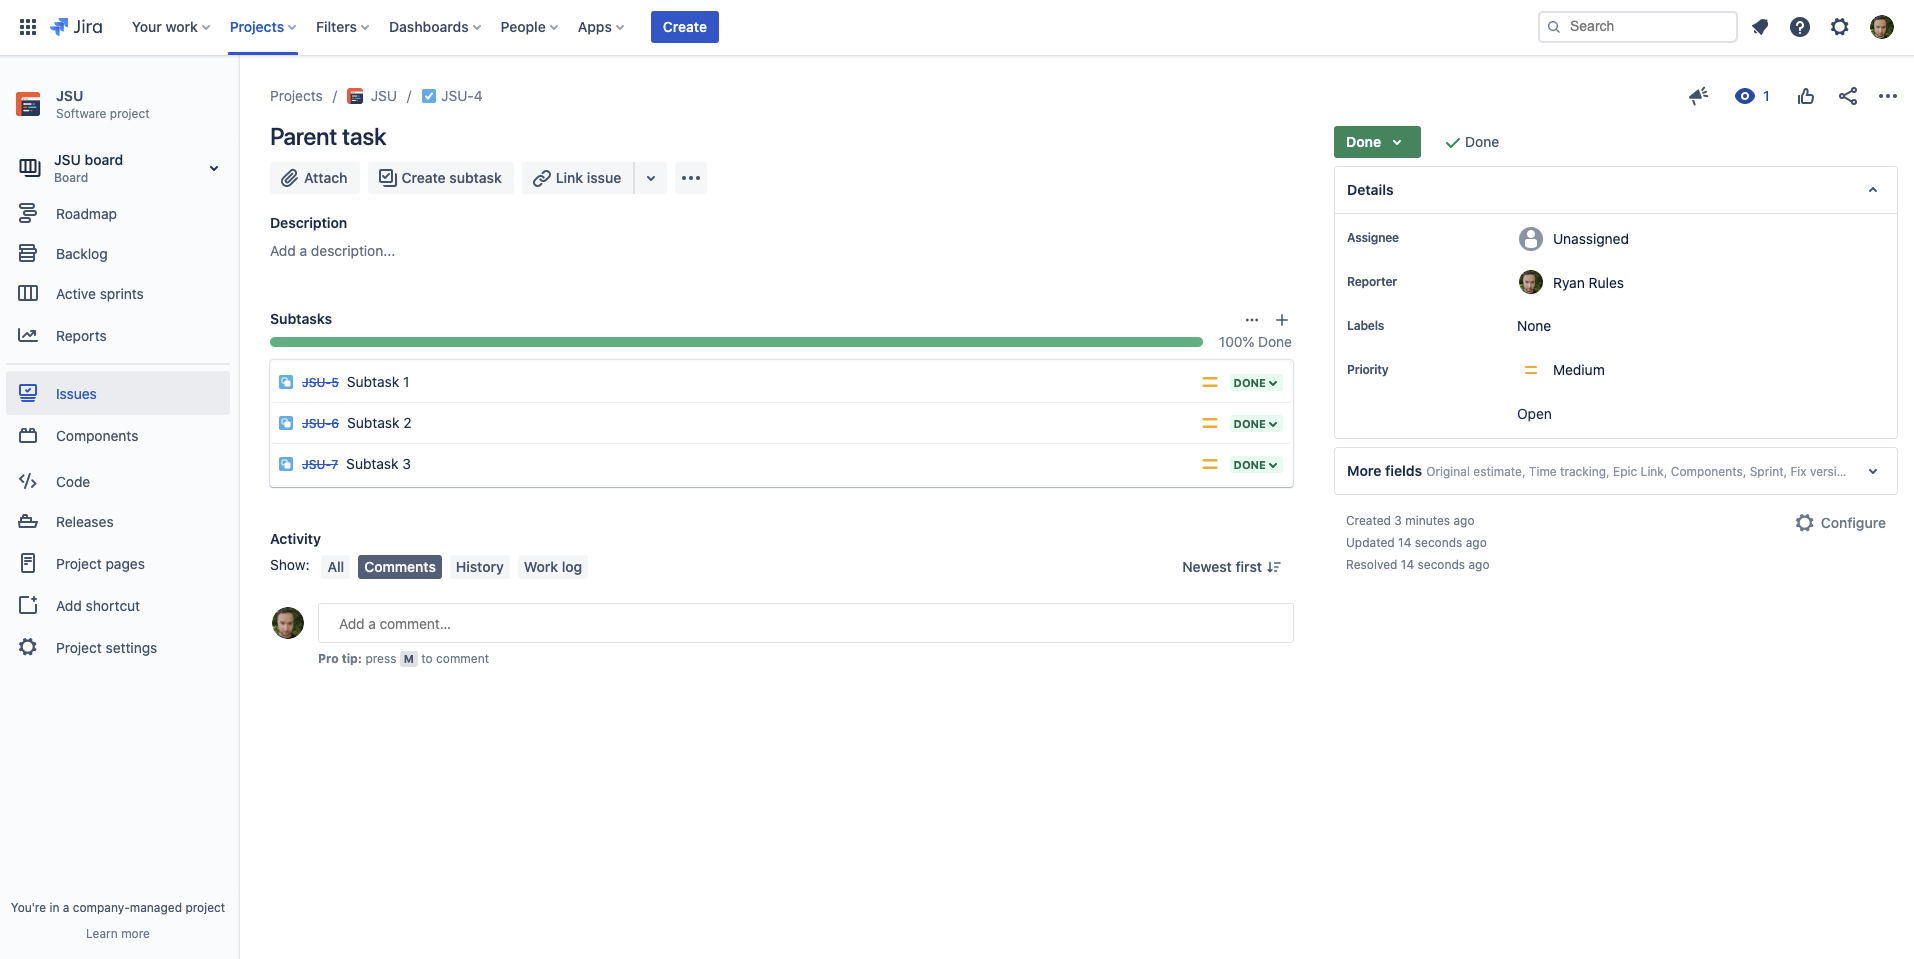
- Congratulations! You've just configured your very own automation!

Feel free to continue exploring other use-cases for this Post-Function, such as "Close parent Epic when all the issues within the Epic are done" and more!
Need more Information or help? Get in touch!